


We're here to help you stitch sustainability into every aspect of your making.
With our carefully curated selection of non-superwash, plastic-free yarns and notions, we have everything you need to get started on your next project - and the one after that.
Here's to a wardrobe of knits we love and want to wear for years to come!


Getting Gauge & What You Can Do When You Can't Get Gauge
Hello lovelies! After Claire's awesome blog post on ease a few weeks ago, I (Hanna Lisa) am back here today with a second post that'll hopefully help you to make knitted things that you'll love to wear and keep for a long, long time - today, we'll talk about Gauge!
When I first started knitting, I didn't even know a concept like 'gauge' existed. I thought if I just bought the same yarn the pattern called for and the same needle size, I would end up with a sweater (because that was my first project!) that would fit exactly to the measurements of the size I chose. Turns out that's not the case. For quite a long time, though, I didn't really understand where I went wrong, until I started noticing that most knitting patterns state something called 'Gauge'.
'Gauge' is how many stitches and rows you get with a certain needle size over a certain amount of centimeters (or inches). It's the basis on which all knitting patterns are designed and determines stitch counts and width / length measurements.
In knitting patterns, the gauge specifications will look something like this:
Gauge: 22 sts x 36 rows = 10 x 10 cm / 4 x 4 (worked in the round, on 4 mm / US 6 needles, in stockinette stitch, after blocking)
What does this mean?
Let's go through it step by step:
-
22 sts x 36 rows = 10 x 10 cm / 4 x 4" square will contain exactly 22 stitches horizontally and 36 rows vertically. Or, if you measure how wide 22 stitches or how high 36 rows in your knitting are, you'll measure exactly 10 cm / 4”. These numbers also determine the stitch counts for the design you're about to work on. Say, the design is a sweater, and the designer wanted a finished bust circumference of 120 cm for a particular size. The gauge measurements tell them that in order to achieve a bust circumference of 120 cm, they need to have 22 sts x (120 cm / 10 cm) = 22 sts x 12 = 264 sts on the needles in the bust area to achieve this.
-
Worked in the round: The instructions in the brackets tell you how to knit your gauge swatch (more on that below!). First up, this tells you to knit the swatch in the round. It's really important to work the swatch in the same knitting technique you'll use throughout the pattern! For most of us knitters, our tension - and thus our gauge - is different when we're working in the round vs. flat, or, for example, when we're working in one color vs. in stranded colorwork. If there's more than one technique used in the pattern (say, you knit a cardigan flat in the body, but in the round in the sleeves), I recommend doing a gauge swatch in both techniques or the one that's used in the majority of the pattern.
-
On 4 mm / US 6 needles: This is the needle size the designer used to achieve this particular gauge. Sometimes, a pattern will instead state 'on larger needles', referring to a list of needle sizes in the pattern instructions, or 'on needle size to obtain gauge'. What's really important here is that the needle size stated in the pattern does not have to be the same needle size you're knitting with! Some knitters knit really loosely, for others, their tension is tighter, and they have to adjust the needle size to get gauge accordingly. Take the recommended needle size as a starting point, do a first gauge swatch with it, and then measure and knit another swatch with a bigger needle size (if your swatch came out with more stitches or rows than stated in the pattern) or a smaller one (if your swatch came out with less stitches or rows than stated in the pattern).
-
In stockinette stitch: This provides the main stitch pattern to work your gauge swatch in.
-
After blocking: Yarns can behave really, really differently before and after blocking. So, after you've knit your gauge swatch, block it as you would block your finished object, and then dry it before measuring! If it's not explicitly stated in the pattern, it should always be after blocking - that's the assumption I'm working with when knitting from other patterns.
What do you do with this information?
You knit a gauge swatch!! You pick the yarn that you want to knit the design with, the needles you want to use, and you're going to cast on a big, big square - bigger than the gauge instructions say. So, for the example above, I would cast on at least 35, possibly 40 stitches. Why? Because the edges of my knitting are usually a bit stretched out, and I want to make sure I have enough fabric in the gauge swatch to measure over a non-distorted area.
You then knit up a square (or a rectangle, if you're a little lazy like me) as per the instructions above (worked in the round, in stockinette stitch), wash it, block it, dry it, and then: measure it! Take your favourite ruler or tape measure and write down how many stitches and how many rows you get in 10 cm / 4". If you're close (say, 0.25 off) or exactly at the stitch and row numbers of the pattern, congratulations!! You got gauge!
Now there are two options: You like the fabric your gauge swatch gave you - you can cast right now, and knit away on your new WIP. Or you look at your swatch and you're like 'hmm‚ this fabric doesn't feel right to me, I'm not really into it'. What I recommend then is to knit another swatch with a different needle size to get to a fabric you really like. If your gauge swatch feels really stiff, try a larger needle size, and if it feels very loose and airy, try a smaller one. Rinse and repeat until you've gotten to a point where you have a swatch that feels just right for you!

What if you didn't get gauge though?
First of all: Don't panic! It's totally normal to not get gauge on the first try. The reason for that is that the needle size stated in the pattern is particular to the designer - it's the needle size that worked for the designer, but it doesn't have to be the needle size that works for you! I'm a quite tight knitter, for example, and I like a looser fabric, so I usually have to go up a needle size (or two, or three) to get gauge.
So what can you do if you didn't get gauge? Knit another swatch and try to:
-
Switch to a different needle size. If you have more stitches on 10 cm / 4" than stated in the pattern, use a larger needle size; if you have less, use a smaller one.
-
Switch to a different needle material. I kid you not - it can make a huge difference if you're knitting on metal or wood needles, for example! Especially when it comes to row gauge!
-
Adjust your technique. Try knitting Continental if you're normally knitting English style. Or try knitting stranded colorwork with both colors in one hand as opposed to in two hands! (Full disclosure: I'm very particular when it comes to my knitting style. I will rather do anything else than do this, but for some it works!)
-
Switch to a different yarn. Sometimes, all changes in needle size and material and technique don't help, but the yarn itself just doesn't work. Try a yarn that's spun with a different technique (woollen spun yarns bloom up beautifully after blocking!) or that's slightly thicker / thinner than what you were working with before.
If all things go well, you've arrived at a gauge swatch that's close to the pattern measurements now.
But - what if you still can't get gauge?
Let me share a few things I love doing in those cases:
I have stitch gauge, but can't get row gauge. Row gauge is actually easy to compensate for in the pattern. I'd take a good look at the pattern to determine if I can just add more rows to a certain portion of it - say, the yoke of a sweater, the body, and the sleeves - without disrupting a stitch pattern or having to do a significant amount of maths. If it's a yes, I'd say cast on, and then add rows to those portions. Sometimes, you'll have to do a bit of maths to figure out how many exactly - say, the pattern states to knit 100 rounds in the body after dividing for the sleeves, but it doesn't state exactly how long the body should be by that point. You can take the gauge stated in the pattern and calculate that (if we take our example from up above), your knitting should be about 100 rounds / 36 rounds * 10 cm = 27.8 cm long. You can now happily knit away and simply measure instead of keeping track of round counts! (I often do this even if I don't do any adjustments - I find measuring so much easier than counting rounds!)
I have row gauge, but can't get stitch gauge. I would always work towards getting stitch gauge rather than row gauge, as row gauge is easier to compensate for. That being said, if you want to work with the stitch gauge you have, I would do the following: Find out what your ideal finished measurement - say, finished bust circumference for a sweater - would be. To do that, you can measure a favorite sweater or add your preferred ease to your actual bust circumference. Then, calculate the stitch count that you would need at the bust to achieve this measurement, given your stitch gauge. Say, your stitch gauge is 25 sts on 10 cm / 4" instead of 22 sts, and you want to get to our above-mentioned bust circumference of 120 cm. 25 sts / 10 cm x 120 cm = 300 sts - you'll need 300 stitches at the bust to get to your desired measurements. Next step is to take a look at the pattern and figure out which size has 300 stitches at the bust - and then you're almost good to go! Before you cast on for that size, I would recommend to double check a few other measurements to make sure that they'll give you the measurements you want (I like to look at sleeve circumferences and lengths). If they do, go ahead and cast on!
I have neither row gauge nor stitch gauge. You can do a combination of the two methods described above! Pick a size that works up to your desired measurements with your stitch gauge, and then calculate lengths instead of rows / rounds to adjust your row counts.
One last thing:
For a very long time, I worked to get as close to pattern gauge as possible - until I realized I sometimes ended up with fabric that I didn't really love. I now approach swatching a little differently: My first goal is to get a fabric that I really, really like. I will then work backwards as described above to find the size that will give me the finished measurements I want with the gauge that I have, and adjust for length if necessary. Here we also come full circle to those of us who have gotten gauge at first try, but didn't like the fabric - simply continue swatching until you get a fabric that you love.
This also works well if you want to use a different yarn than stated for in the pattern! An excellent example is my Citrine sweater: I wanted a lighter version of it, so I used De Rerum Natura Ulysse instead of the recommended yarn, and knit a size 4 instead of a size 2 as that worked out well with my gauge and desired fit.
Phew! I hope that wasn't too overwhelming - I realize gauge can be a super tricky thing and topic, so if you have any questions at all, please post them below or email me at hannalisa@making-stories.com and we'd be happy to help out!
15 Responses


Leave a comment
Comments will be approved before showing up.
Also in Blog


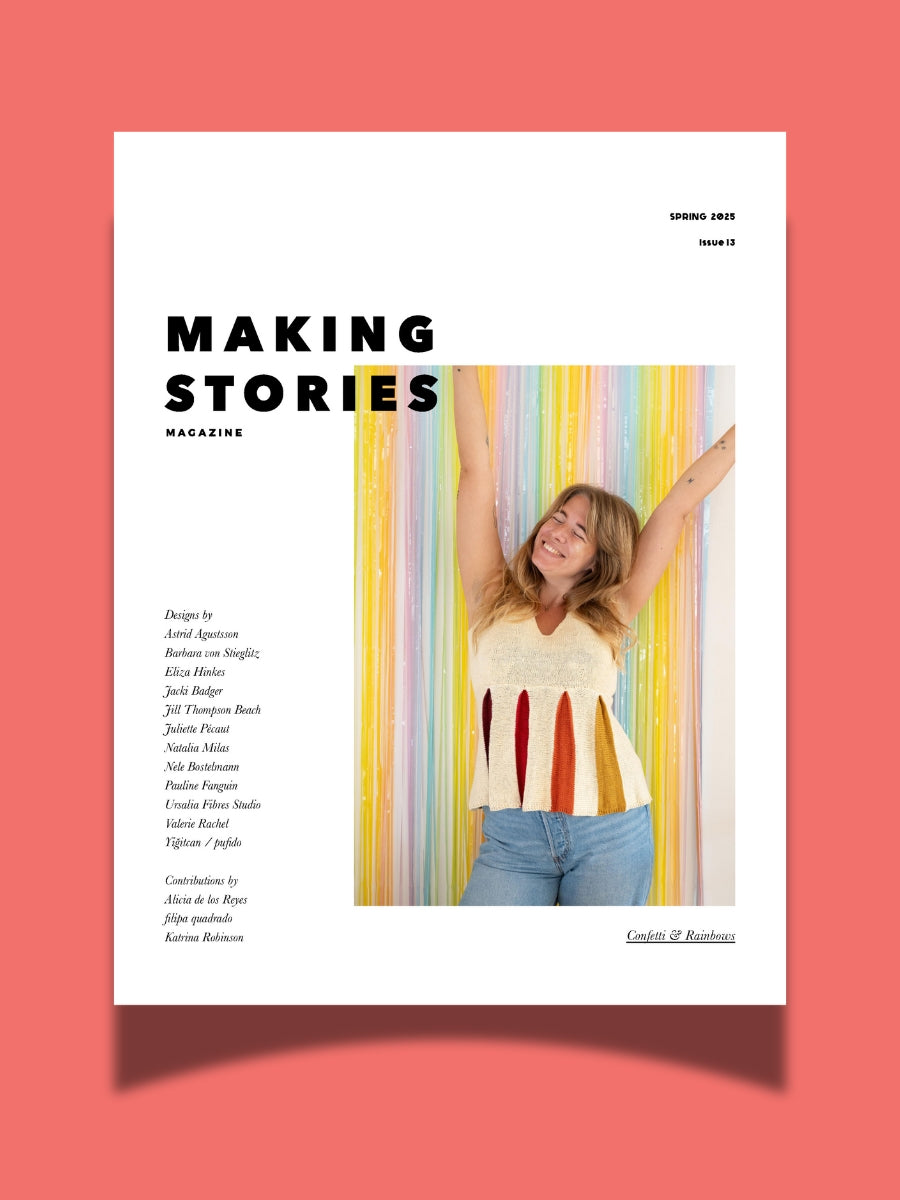
Issue 13 – Confetti & Rainbows | Official Pattern Preview
Hi lovelies! The sun is out here in Berlin, and what better day to talk about one of the most joyful issues we've ever done than a brilliant sunny winter day – meet Issue 13, Confetti & Rainbows!
In Issue 13 – our Spring 2025 Issue – we want to play! Confetti and rainbows, unusually and unconventionally interpreted in 12 new knitwear designs – a journey through color, shapes, texture and materials.
Confetti made out of dried flowers, collected over months from bouquets and the road side. Sparkly rainbows, light reflecting. Gentle textures and shapes, echoing the different forms confetti can take. An unexpected rainbow around the corner, on a brick wall, painted in broad strokes.


New Look, Same Heart: The Story Behind Our Delightful Rebrand
Hi lovelies! I am back today with a wonderful behind-the-scenes interview with Caroline Frett, a super talented illustrator from Berlin, who is the heart and and hands behind the new look we've been sporting for a little while.
Caro also has a shop for her delightfully cheeky and (sometimes brutally) honest T-Shirts, postcards, and mugs. (I am particularly fond of this T-Shirt and this postcard!)
I am so excited Caro agreed to an interview to share her thoughts and work process, and what she especially loves about our rebrand!

Thoughts on closing down a knitting magazine
As a lot of you might have suspected I have, at last, made the decision to definitely close down Making Stories Magazine after Issue 14, our 2025 Fall & Winter issue. This means we still have two issues to go - Issue 13, coming out in March (Confetti & Rainbows!!), and Issue 14, coming out in September. I wanted to share this decision with you bright and early as I don’t feel like holding this in when we publish our last Spring and then our very last Fall & Winter issue. I want to celebrate those issues, and the work that we have done over the last eight years, and I want to be able to share the bittersweet feelings that will inevitably come up when the list of “lasts” still do be done gets shorter and shorter.
Read More
Hilary Schading
January 16, 2025
Thank you for this comprehensive post. I knit a couple swatches, one was 2 stitches too few and the other on the next size needle was 2 stitches too many.
The section on doing the math made all the difference in my decision making and gave me the confidence to move forward with my project despite not having exact gauge on either needle size. After doing the math, I’ll have approximately 4 stitches difference and that will leave me well within the designers recommended 2”-6” of recommended ease. It was important to me to find guidance before continuing as this is intended as a gift and I really want it to fit! Thanks again!