Your Cart is Empty


- Annika Scheer | Rosemary & Pines Fiber Arts
- Ayano Tanaka
- Barbara Gottwik
- Crystal Hiatt
- Elena Solier Jansà
- Emily Joy Rickard
- Emma Ducher
- Fiona Alice
- Fiona Munro
- Imke von Nathusius
- Jennifer Brou
- Jill Thompson Beach
- Joan Forgione | Paper Moon Knits
- Julia Exner
- Kjerstin Rovetta
- Ksenia Naidyon | Life is Cozy
- Madeleine Renarde
- Makenzie Alvarez
- Making Stories
- Maria Muscarella
- Marina Skua
- Marthe Forodden
- Rebekka Mauser
- Renate Kamm
- Susan Schädler
- Tania Dejoie
- Valentina Cosciani
- Vanessa Pellisa


We're here to help you stitch sustainability into every aspect of your making.
With our carefully curated selection of non-superwash, plastic-free yarns and notions, we have everything you need to get started on your next project - and the one after that.
Here's to a wardrobe of knits we love and want to wear for years to come!


Adjusting Length In A Pattern: Part Two
Welcome back to part two of adjusting length in a knitting pattern! In part one, we chatted about why you would want to adjust the length of the project you are knitting and how to identify the areas you need to adjust. We then went on to look at exactly how to calculate those adjustments to ensure you get the length you are looking for. If you missed that first post, you might want to go and read that first before diving into this one, and you can do that here.

Today, we are going to be looking at some of the areas you can add length, and how to approach making alterations while taking any shaping the pattern has into account.
Remember, adjusting length is achieved by adding or removing rounds/rows, and the best places to do this are in sections of the pattern where you 'work straight', ie. where there is no shaping (increases or decreases). This isn't always possible though, so how do we get the fit we want without losing the shaping? Let's take a look!
For the purpose of today's post, we are going to once again be using our top-down stockinette sweater as an example, but the same rules apply for bottom-up also. Let's first look at adding and removing length in the yoke.
Yoke
Getting a great fitting sweater in the upper body is something I know a lot of us struggle with. Does your sweater ever feel uncomfortably tight under the arms? That's a sign your yoke needs more length. Do you have excess fabric between the underarms and chest, or are your sleeves longer than expected? Then taking length out of your yoke can really help.
Remember, the best spot to adjust length is at a point in the pattern where there isn't any shaping, and with a yoke, the best place to do this is after all your increases have been completed (for top-down) or before they begin (for bottom-up). This will be just before (for top-down) or after (for bottom-up) you separate/join the body and sleeves.
A lot of top-down sweater patterns will actually tell you where to adjust length if you need to by saying something like:
Continue working in stockinette stitch until yoke measures x cm / x" from cast on, or until you reach your desired length.
You can simply add or remove the extra rounds to reach the length you want and you are good to go!
So while this is a really handy way of adjusting yoke depth, some may find adding length while the yoke is at its widest point (the full amount of stitches increased) gives too much fabric under the arms (also an issue caused by your yoke being too big, but more on that another day!). You can find this to be an issue if you have a fuller bust or narrow shoulders compared to your chest measurement. To help avoid this, it's best to try incorporating the extra rounds into the shaping of your yoke. Let's use our top-down stockinette sweater from the first blog post as an example:
The yoke is shaped over 60 rounds by repeating the increase round every 3rd round 4 times followed by every 4th round 12 times.
You have worked out that you need to add 6 extra rounds to your yoke to get the depth you want, but you don't want to add them in at the end. Instead, you incorporate them into the increase rate as follows:
Repeat the increase round every 3rd round 4 times, followed by every 4th round 6 times, followed by every 5th round 6 times.

See what I've done there? I've incorporated the extra rounds into the last 6 increase repeats. Now that extra length is distributed evenly through the yoke and shouldn't create extra bulk at the underarms. You can use the same technique for reducing yoke length by simply taking out rounds between the increase rounds.
The methods I've talked about so far can also be applied to other areas of your knitting. Let's take a look!
EDIT: For this post you will see that I'm writing specifically about yoked sweaters such as a Raglan or circular yoke. Theres a reason that I haven't touched on sweater construction such as a set-in sleeve or saddle shoulder, and the reason for that is I don't have as much experience with these styles, and I'd hate to give you incorrect advice! I did find this fantastic post that goes into more depth on altering length with set-in sleeves, so if you are interesting in reading it, it's really worth checking out!
Sleeves
Adding length to sleeves is more often than not really straight forward. No matter what the style is - straight, tapered to the wrist, balloon - there is almost always a point where you work straight, and these are the perfect places to add length.
One spot that this usually happens is at the upper arm. If you are knitting a top-down sweater, this will be right after you have added your held sleeve stitches to your needles and picked up stitches for your underarm, or if you are knitting bottom-up, it will be the final section after completing any shaping.
Another good spot to add a little length is at the wrists. Once any shaping has been completed you can continue knitting straight until you have reached your desired number of rounds before beginning your cuff.
When it comes to deciding where to remove length from, one thing I would advise against is removing rounds in the upper arm. This is typically the widest point of our arm and removing length here may mean beginning any shaping the sleeve has too soon, leading to tight, uncomfortable sleeves. It's always better to remove length from the bottom of the sleeve whenever possible. Alternatively, you can follow the same method we used for reducing the length of our yoke by adjusting the number of rounds between the decrease rounds.
If you are looking to radically shorten the sleeves because of style preference, then sometimes the shaping isn't as much of an issue. For example, if the pattern is written for a tapered sleeve that decreases towards the wrist, but you want to shorten it to three-quarter length, you can simply follow the pattern until you have completed as many rounds as you wish to reach your desired length. It means you won't complete as many decrease rounds and will finish with more stitches on your needles than stated in the pattern, but that's ok! As you aren't knitting to the wrist, you don't need your sleeve to be as narrow as in the pattern.
Lower Body
How do you know if you need to adjust the body length? The measurement you are looking for in the pattern is typically called 'side length'. This indicates the length of your sweater from the underarm to, usually, where you bind off after the hem. I say usually because some patterns will list the length of the hem separately, particularly if there is something exciting design-wise going on there. Use a tape measure to check to see if you are happy with where that length lands on you and if you aren't, add or remove length accordingly.
One thing to be aware of here is any waist shaping that may be happening. The first thing you should check is if the shaping is actually landing at your natural waist as it is written in the pattern. How do you do that?
First, see how many rounds are knit before the waist shaping begins and make a note of them. For this exercise, we're going to say there are 10 rounds. Then, see how many rounds are used for the waist shaping. For our sweater we decrease over 8 rounds, knit straight for 6 rounds and increase again over another 10 rounds, giving us a total number of 24 rounds. Divide this by two to find the center (12 rounds) and add that to the number of rounds worked to the beginning of the waist shaping. This gives us 22 rounds, so the 22nd round should land on our natural waist. Use your gauge to calculate the exact measurement this gives and check length from your underarm to your natural waist. If it's in the right place, perfect! If it isn't, add or remove rounds before the waist shaping begins to get the right fit.
Once your waist is in the right place, you can adjust where your hem lands by adding and adjusting rounds after the waist shaping.
Be mindful of your hips!
One last thing, if you decide you want a much longer sweater then the pattern is written for, then make sure you take your hip measurement into account. My hip circumference is significantly larger than my bust circumference, so if I were to just continue to add more rounds to get the length I want without increasing for my hips, then I would end up with a sweater that was really overstretched at the bottom. That won't look or feel good! As with the waist shaping, work out where you need to begin to add shaping for your hips by measuring the side length and calculating how many rounds to knit.
Phew, this was a lot of information, but I hope it gives you a few ideas about how to adjust length in your own patterns. As you have probably noticed, we have once again only talked about stockinette sweaters. Now we have covered the basics of how to calculate adding and removing rows/rounds, and looked at incorporating shaping into our adjustments, in the next post in this series we will be looking at how to alter length in a pattern when working with stitch patterns. As you can imagine, it can make things a lot more complicated, but it's still doable, I promise! That post will be coming in two weeks time as next week, Hanna Lisa has something special planned for the launch of Issue 5. So keep posted!
If you have any questions, be sure to post in the comments below or email me at claire@making-stories.com.
1 Response
Leave a comment
Comments will be approved before showing up.
Also in Blog

6 Joyful Spring Knitting Patterns - My Current Favorites!
Hi lovelies! Spring has sprung here in Berlin – as I am typing this (mid March), the buds on the chestnut tree out the window are a few days away from bursting, the forsythias are in full bloom, and our strawberry plants have started their comeback as well (leaves so far, but Aurin checks every day for berries :)).
So it's no surprise at all that today's blog post is very much inspired by the sun and the warmer days to come! I have put together a sweet roundup of 6 joyful spring knitting patterns, all of which I'd love to have on my needles soon. (If someone can get me an extra day or two per week to knit (oh, and to spin), I'd love that!)
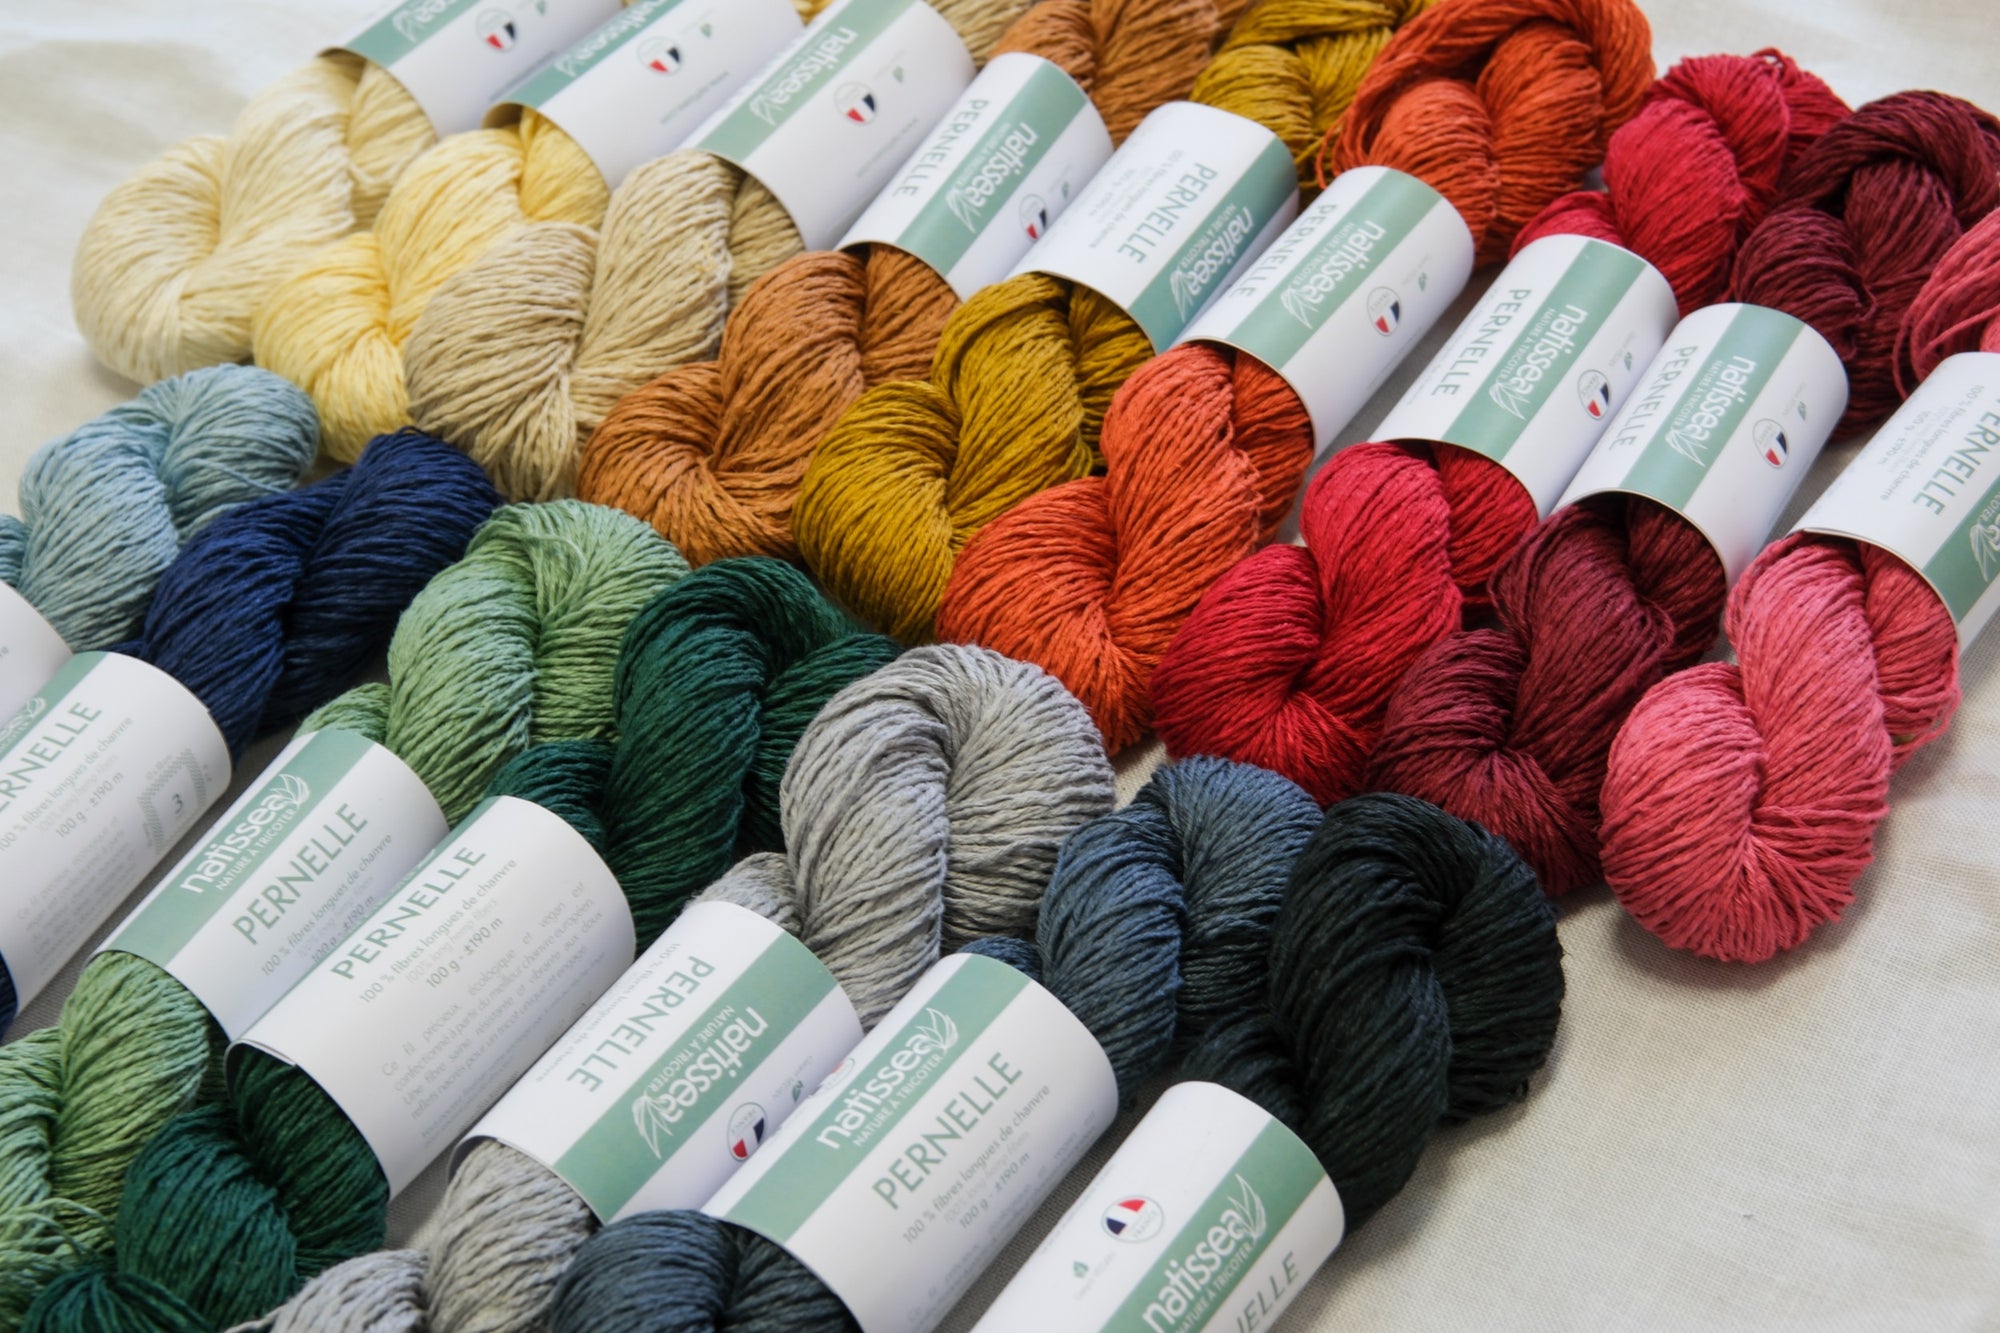
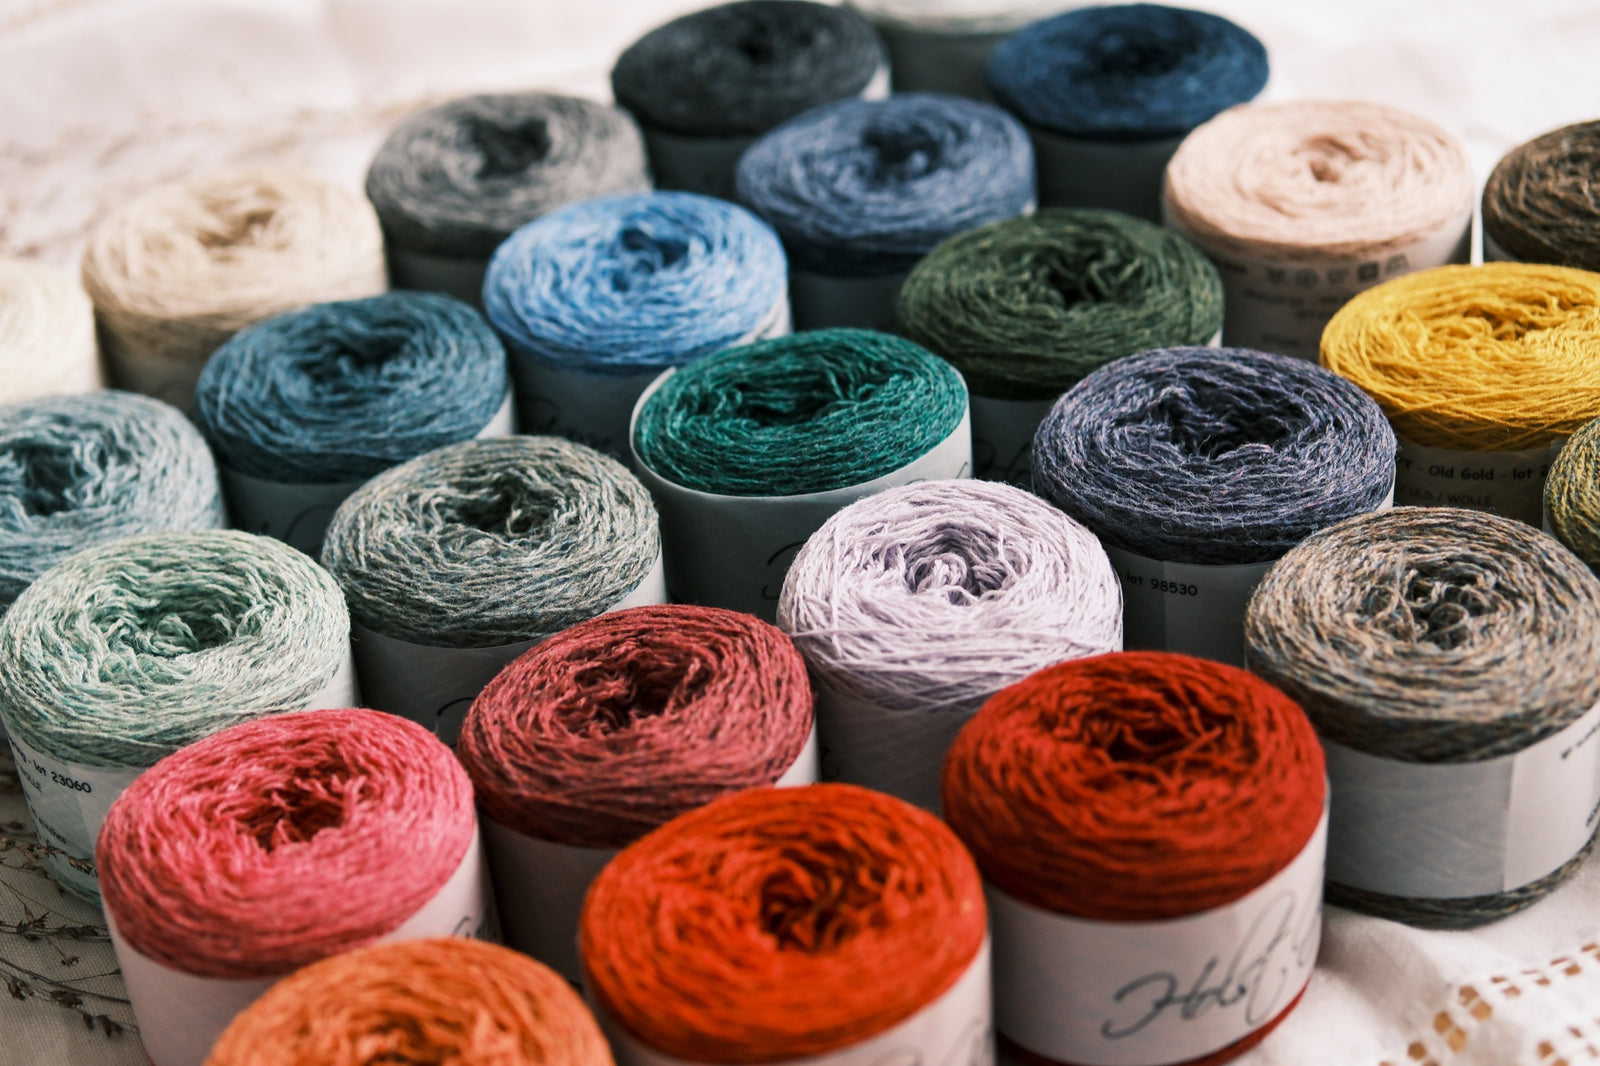
The three yarns I've paired them with are my favorite spring / summer yarns: De Rerum Natura's Antigone, a delightful sport-weight linen yarn, Wooldreamers' Saona, a 50% Spanish cotton, 50% Spanish wool blend, and Natissea's Pernelle, our newest spring yarn: A 100% European hemp yarn!

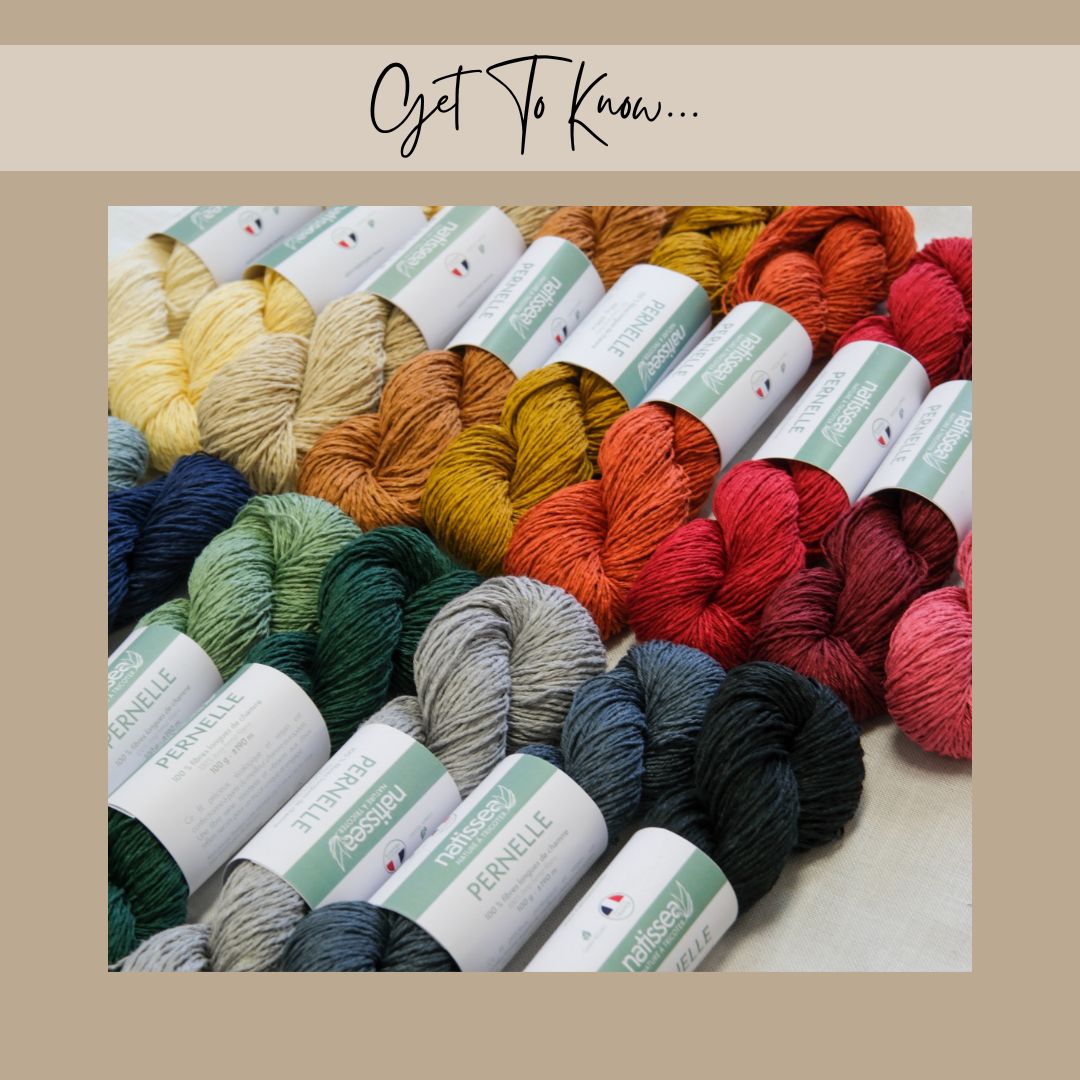
Get to Know: Pernelle, our first 100% hemp yarn!
Hi lovelies! As you might know, we are slowly, surely expanding the portfolio of the shop – I am always on the lookout for wonderful sustainable yarns that might fill gaps we still have, and one that was on the list since last summer was an additional spring / summer yarn.
When I learned about Natissea, a French yarn company dedicated to organic plant yarns, from Audrey Borrego last year, I immediately contacted them to order some samples. As soon as I had Pernelle, their 100% European hemp yarn, on the needles, it was love – grippy, but not ropey, with a lovely drape that only got stronger after a good washing and blocking session.
The shade cards had me swooning too – a really comprehensive, well-composed range of colors with something for everyone in it, from neutrals to spring-inspired pastels to deep jewel tones.
So I was so pleased when Natissea accepted us as a stockist – and I am extra excited to introduce Pernelle to you. Our first 100% hemp yarn, perfect for summer tops, T-Shirts, and lightweight sweaters!
I reached out to Mathilde over at Natissea and she graciously agreed to answer a few questions about Pernelle. I loved reading her answers!

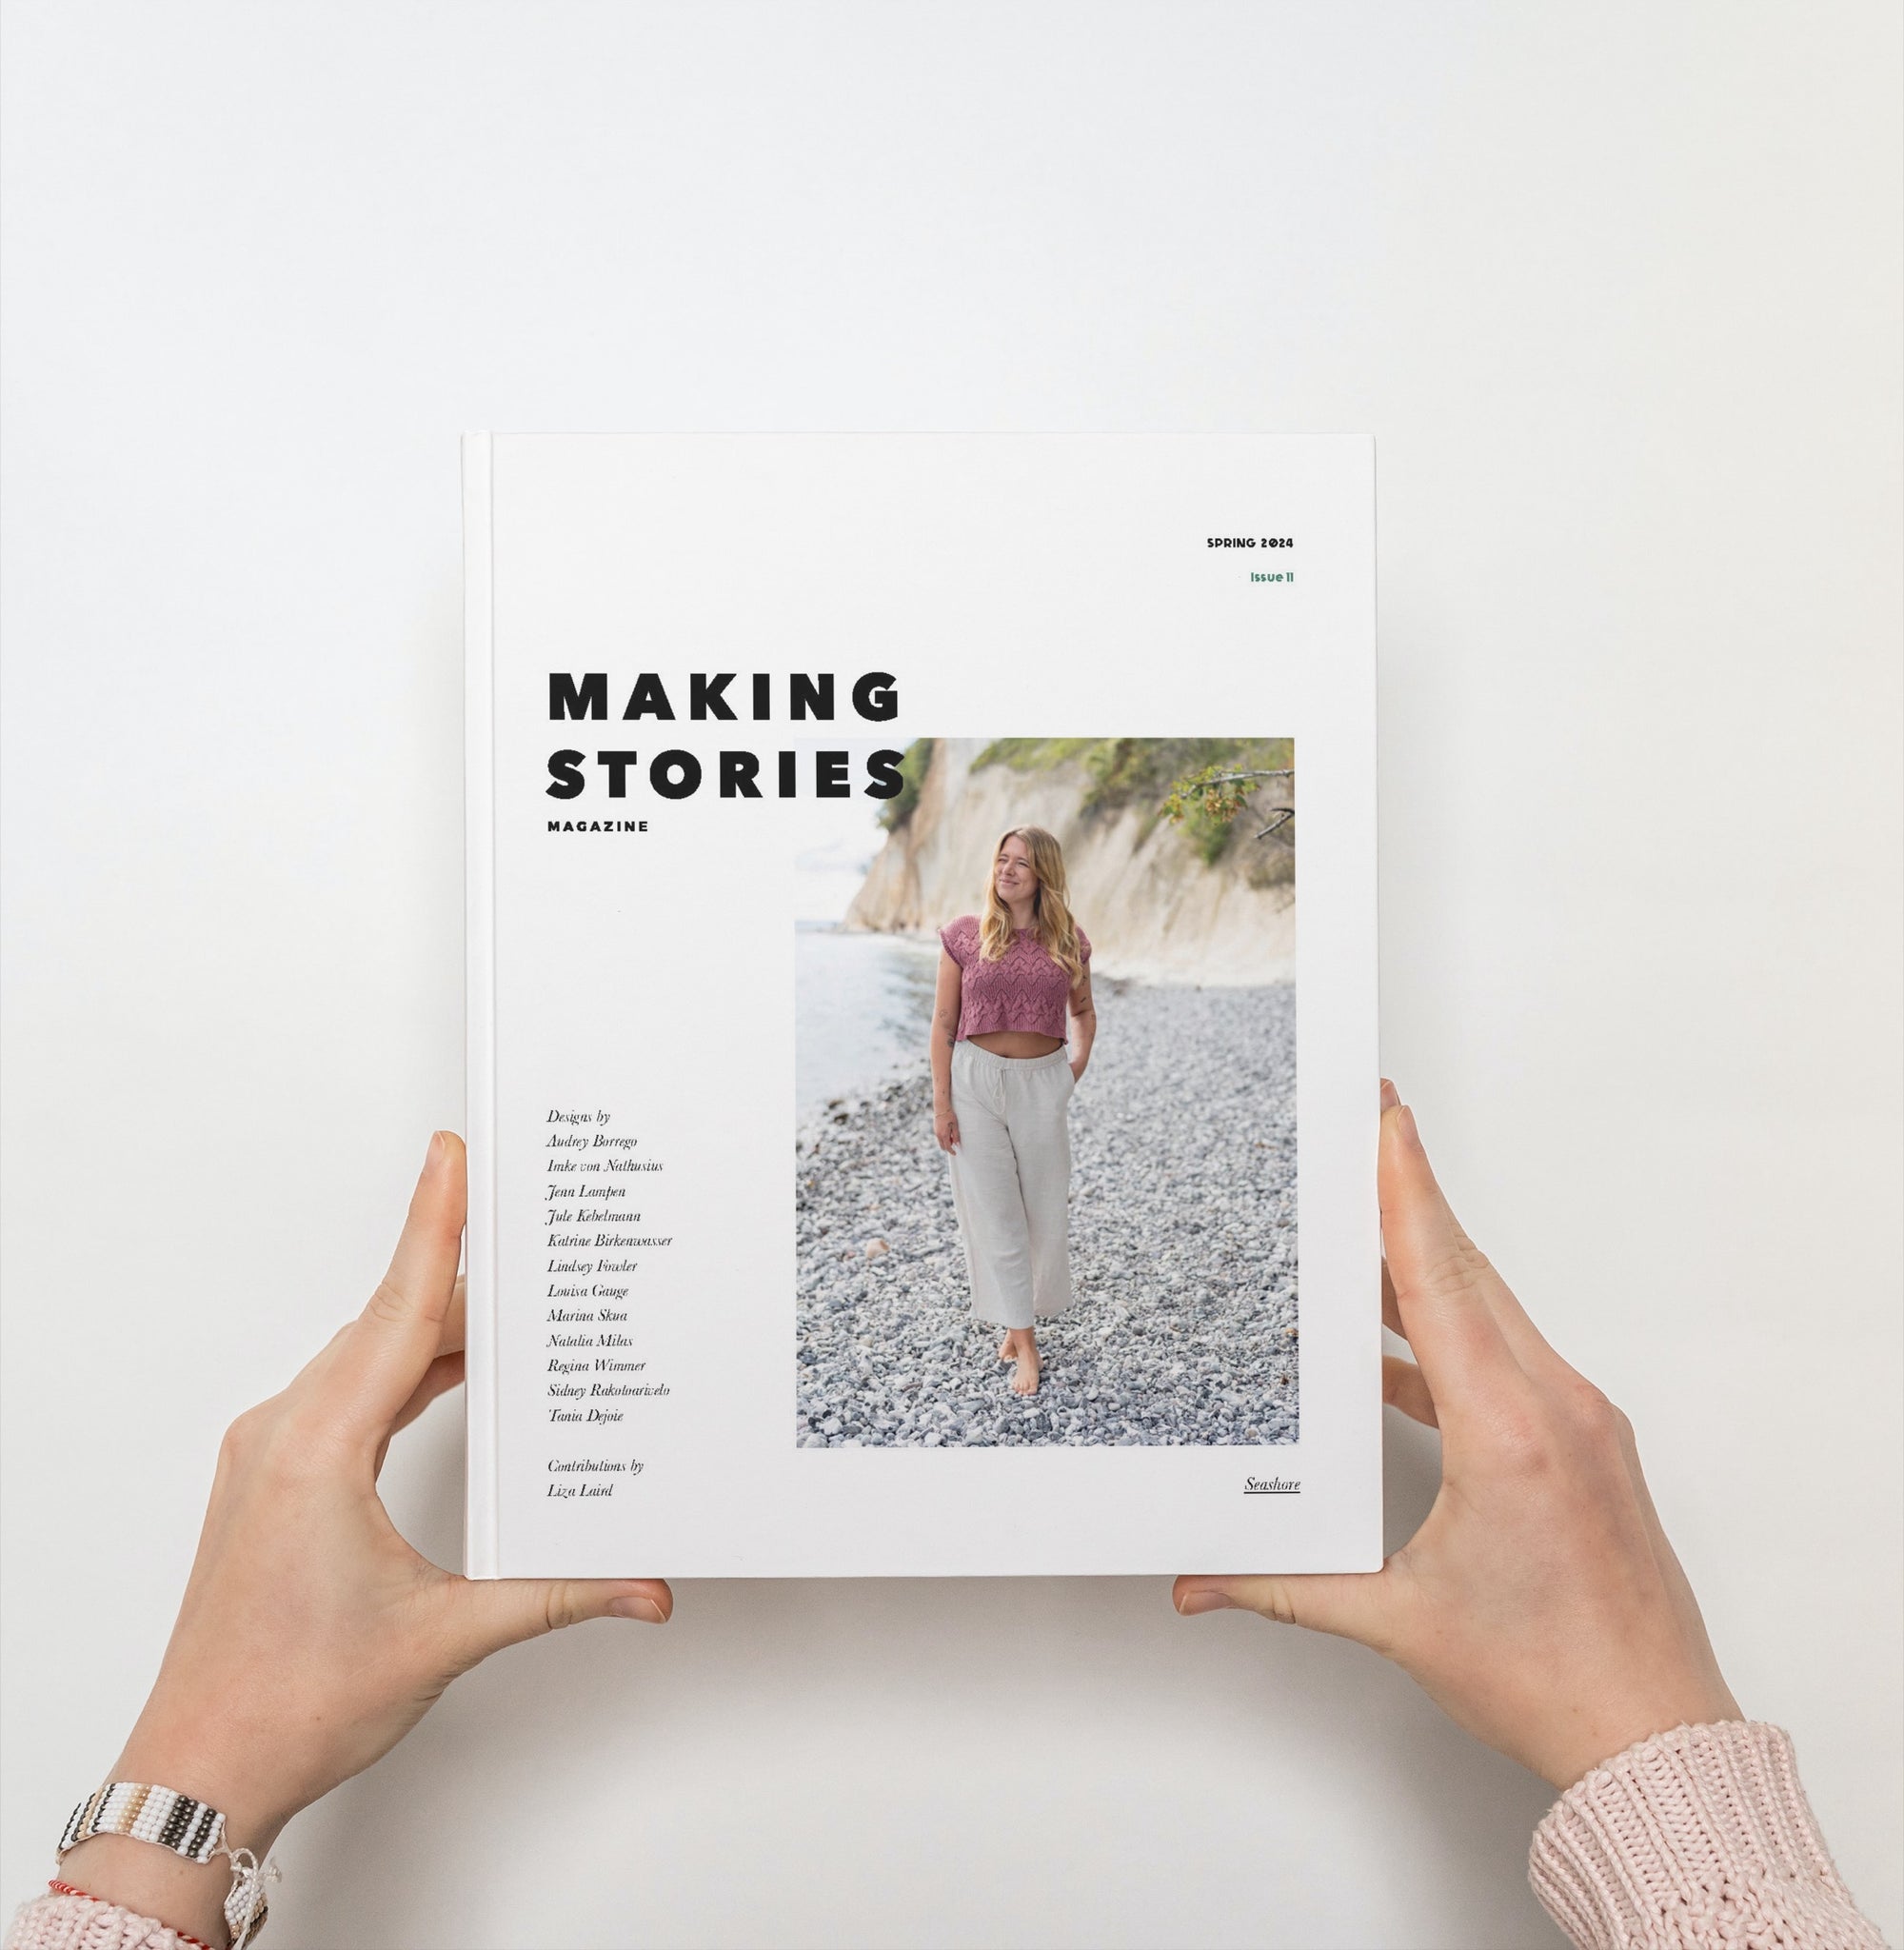
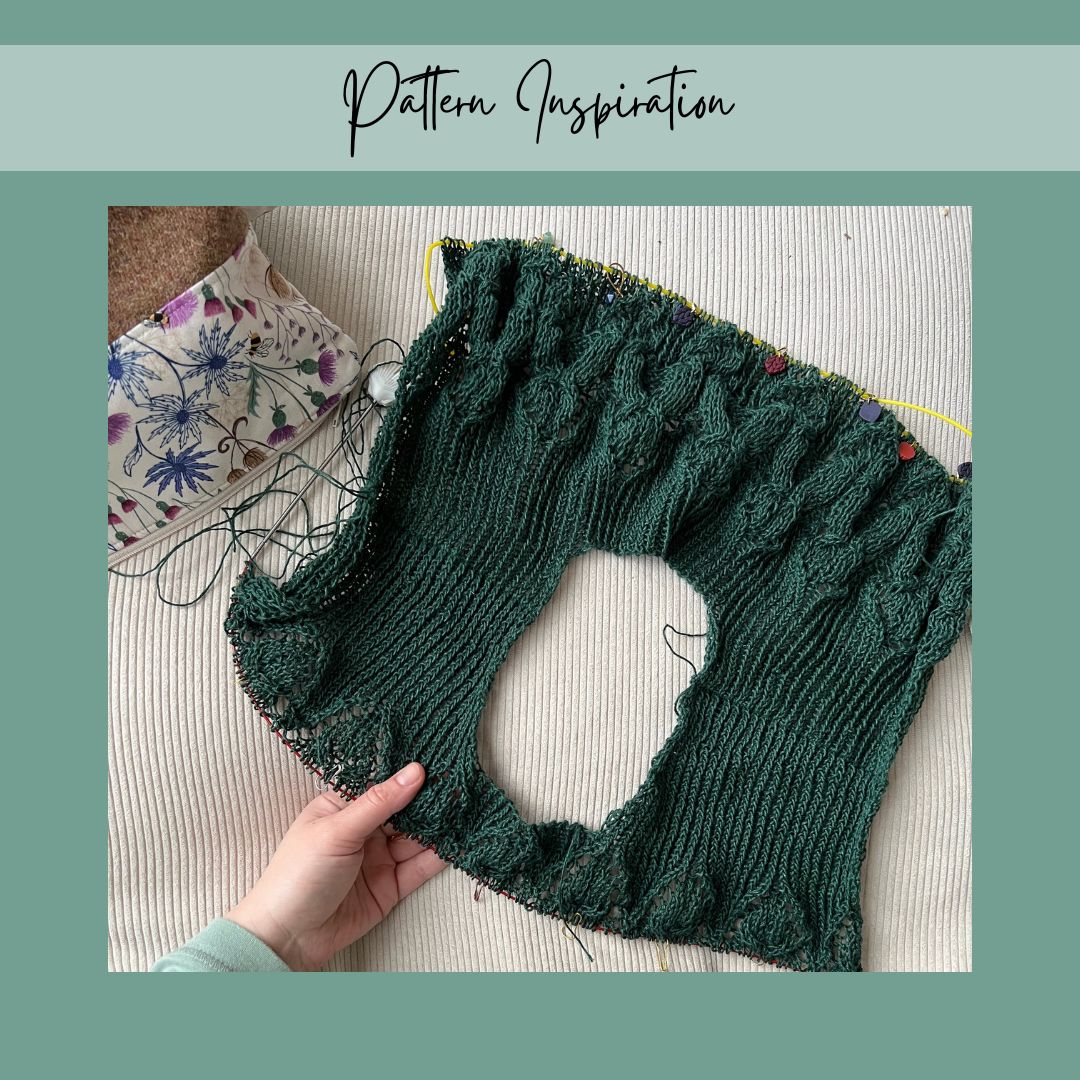
Issue 11 - in and out by Liza Laird
Hello lovelies!
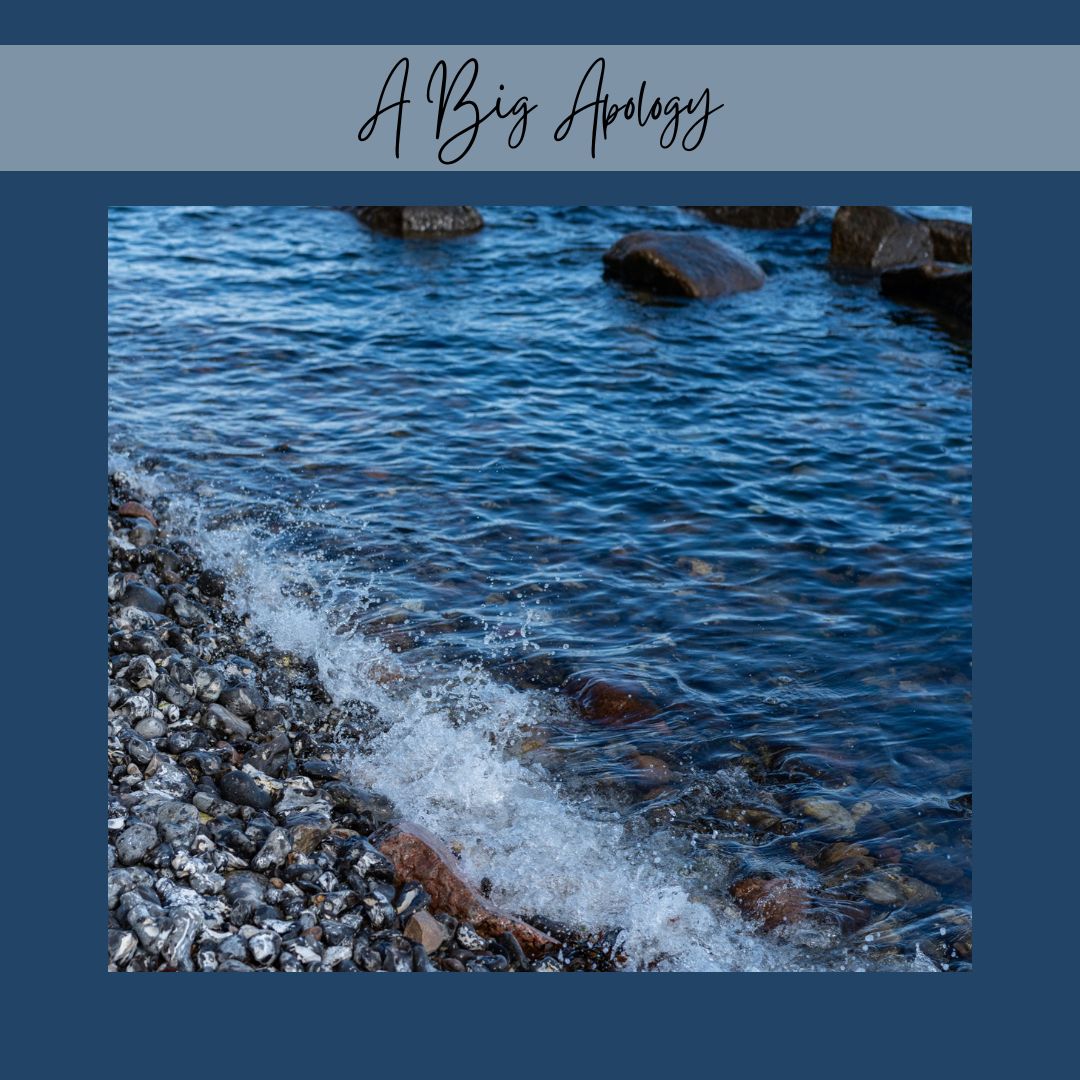
I am back today with a slightly unusual post that starts with a big, big apology to Liza Laird. Liza is a wonderful author (you might know her book Yoga of Yarn), knitter, teacher and yogi, and we were supposed to publish her beautiful poem "in and out", inspired by the ocean, in our Issue 11, "Seashore".
While I was putting the final touches on our layout, I realized that we had a spread too many (we always print in increments of 4 pages, or 2 spreads) and inadvertently cut the spread with Liza's poem instead of the photo spread I meant to delete.
Patti
March 22, 2021
These blog posts are fantastic and so full of information. Thank you. I am a little confused though about getting the waist correct. I cant get 28 rounds in the example I get either 23 or 33 – the only way I get 28 is if only counting the decrease and increase rounds, leaving out the 5 rounds of straight knitting. And if so, why do I discount those 5 rows? Help!